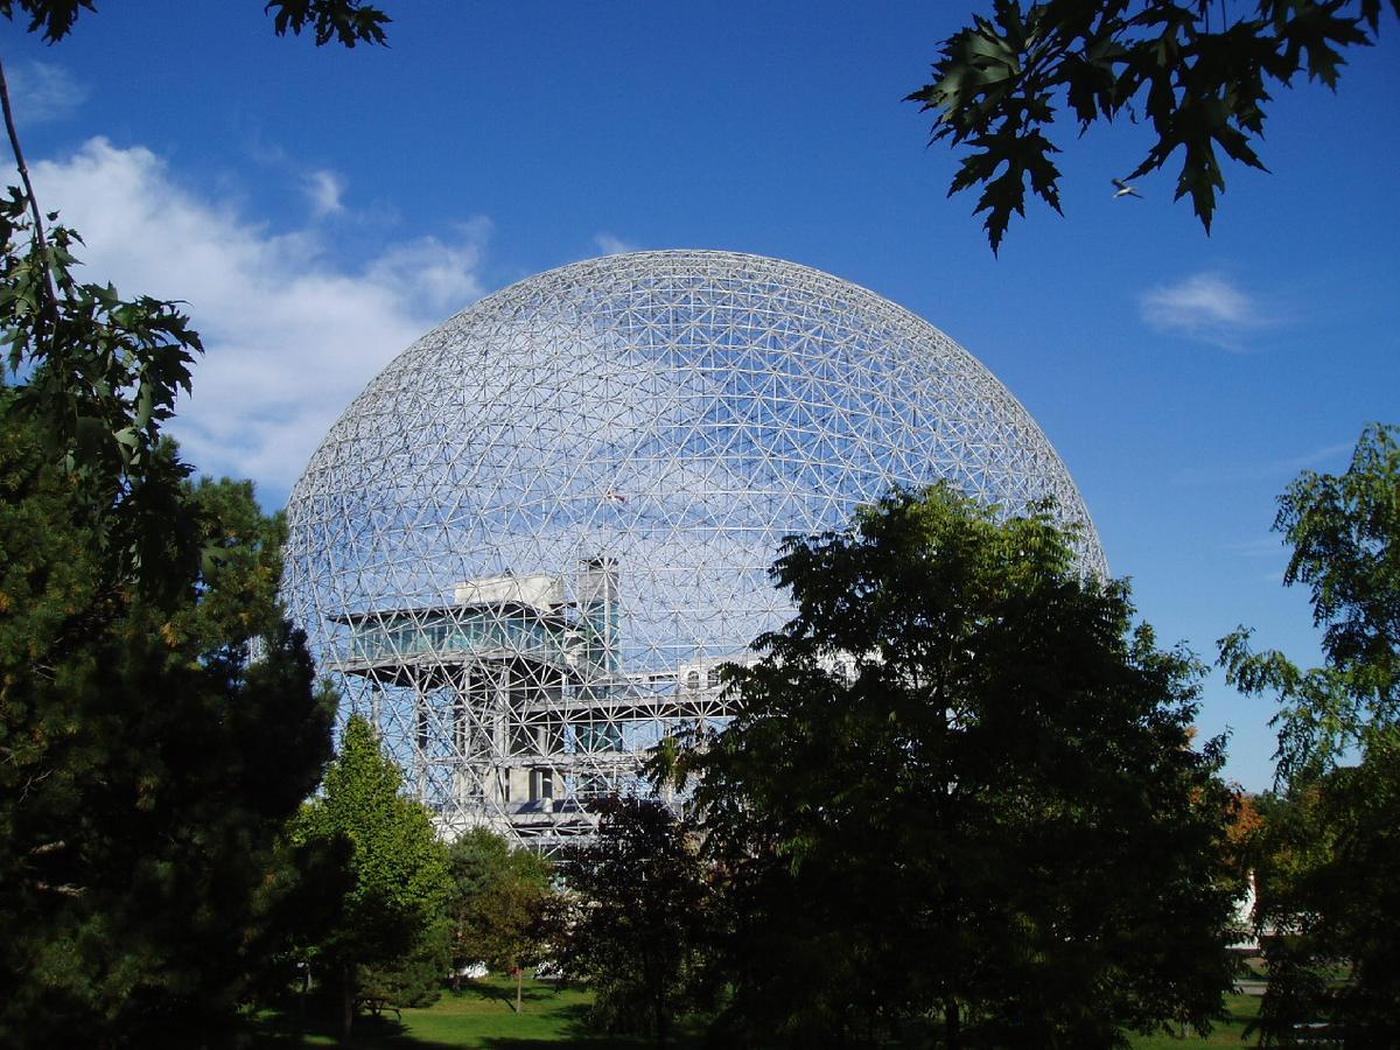
A geodesic dome is a structure based on a geodesic polyhedron. The triangular elements of the dome are structurally rigid and distribute the structural stress throughout the structure, making geodesic domes able to withstand very heavy loads for their size.
Design
I wanted to build a geodesic dome made up of two triangular faces and a joint. But because the structure of a geodesic dome is mainly made up of sticks instead of faces, finding documentation was not as easy as expected. Finally, this website helped me to find the geometric values.
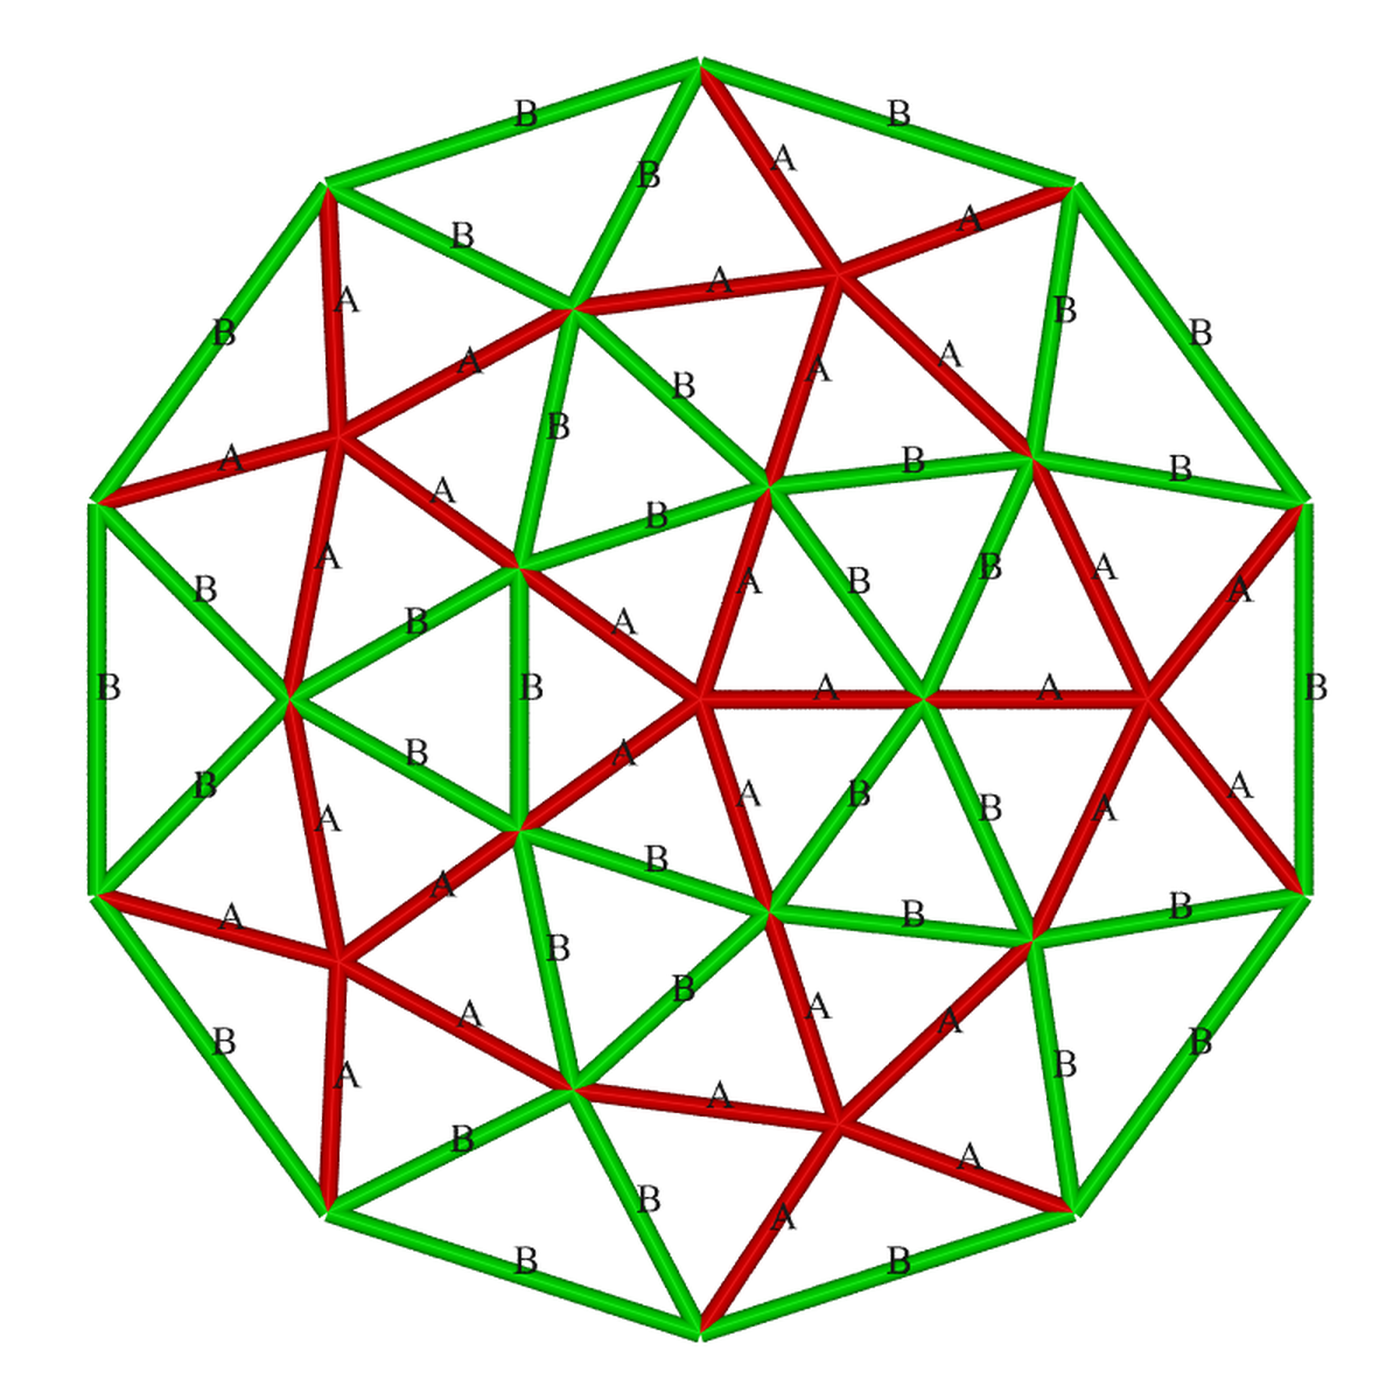
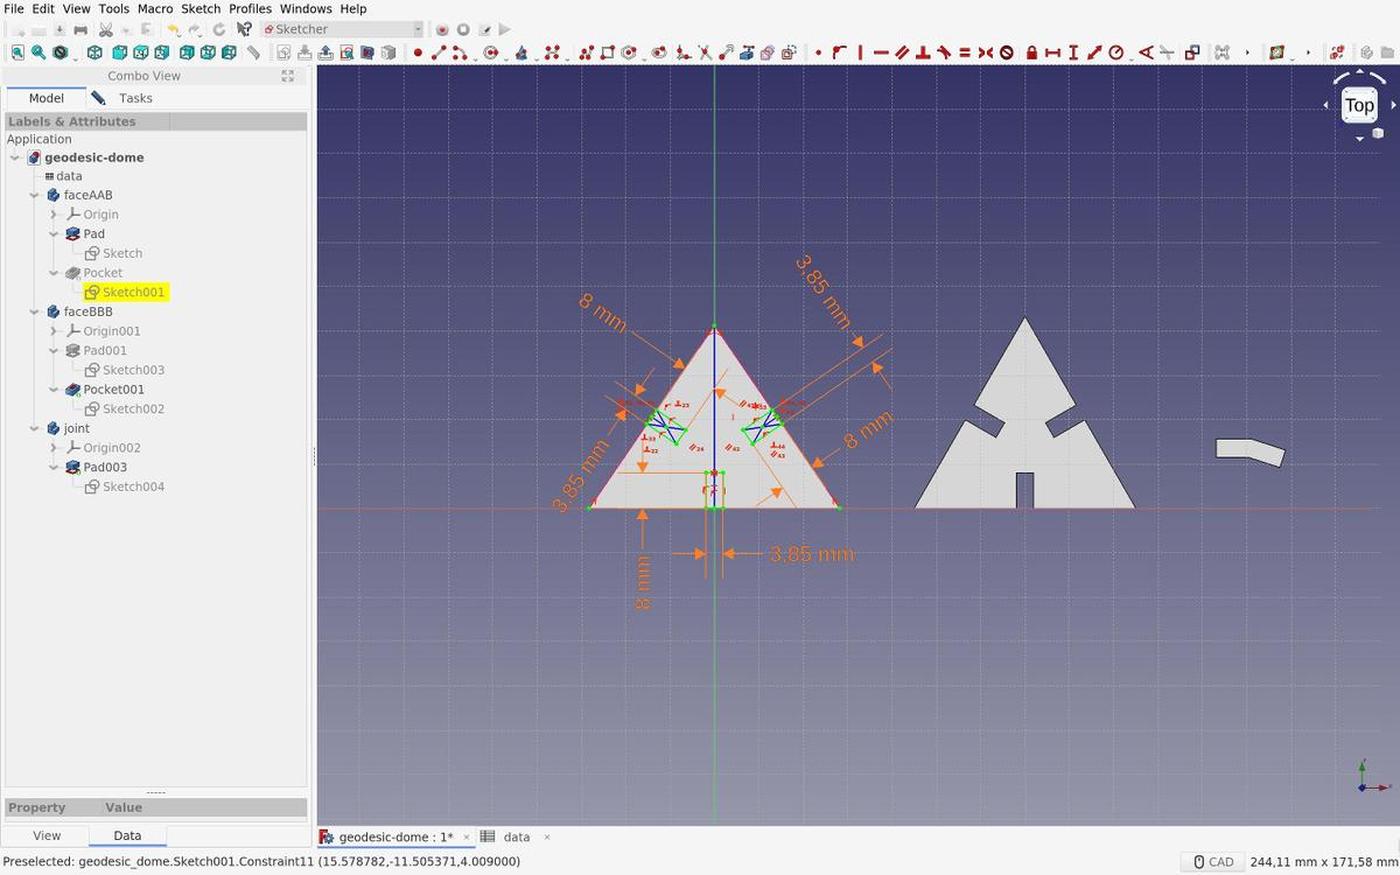
- 30 x triangle A-A-B (55.57°, 55.57°, 68.86°)
- 10 x triangle B-B-B (60.00°, 60.00°, 60.00°)
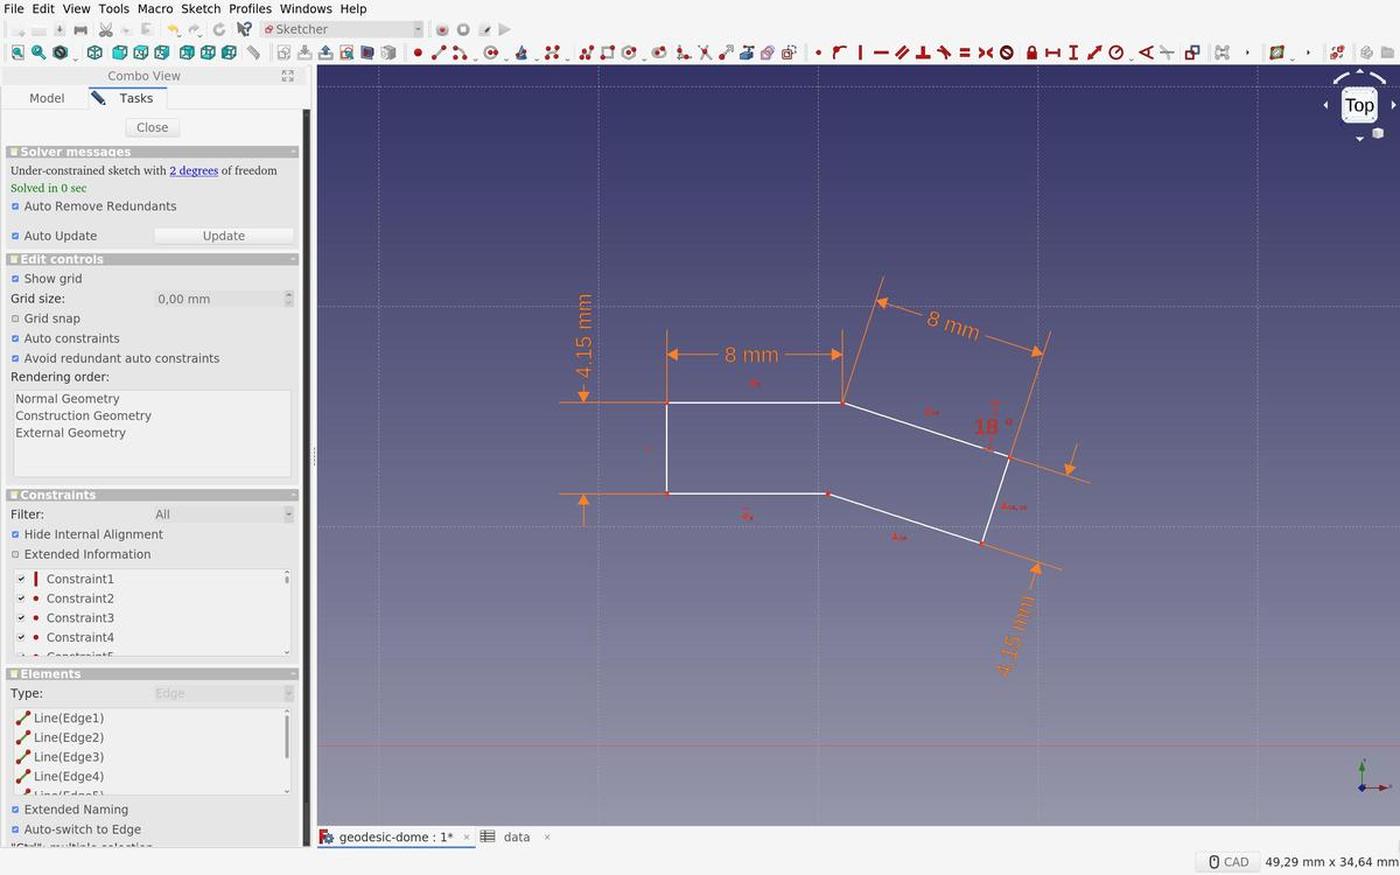
- 55 connectors (with an angle of 18°)

I used FreeCAD to design the dome elements. I first filled out a spreadsheet with the parameters that I collected, so that I could use these parametric values to design the different parts and be able to change things quickly in case of change.
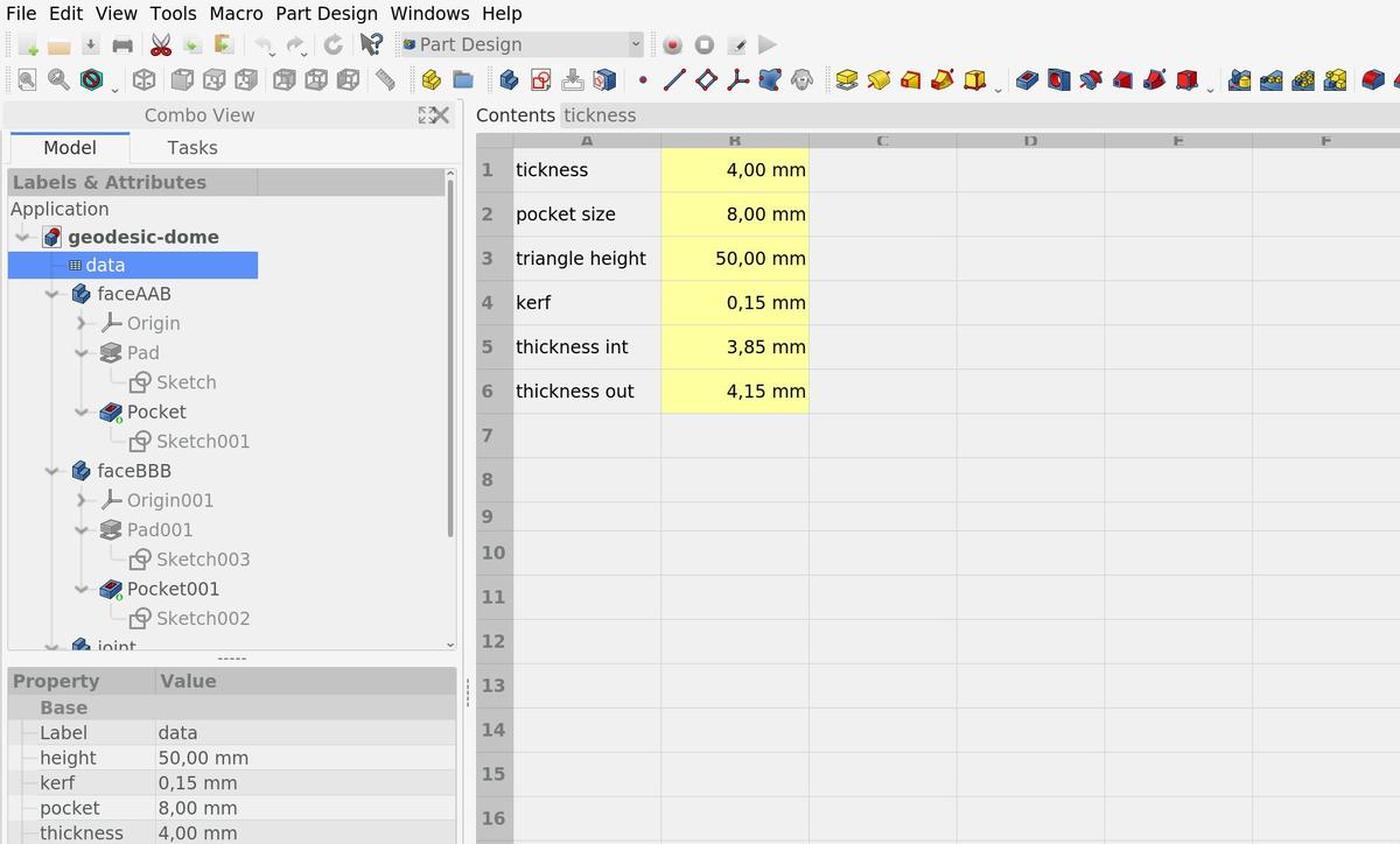
Finding the kerf was a key point in this project because the pieces had to fit perfectly to keep the entire structure as solid as it should be. Because the dome will be made of plywood 4mm and due to the machine and its parameters, the kerf value is 0.15mm.
I added this value for the connector measurement, because the part had to fit into another. The lasercut decreases the size of the part, so by adding the value before cutting, I guarantee that the end result will be the expected result.
And vice versa for the opposite part.
Nesting
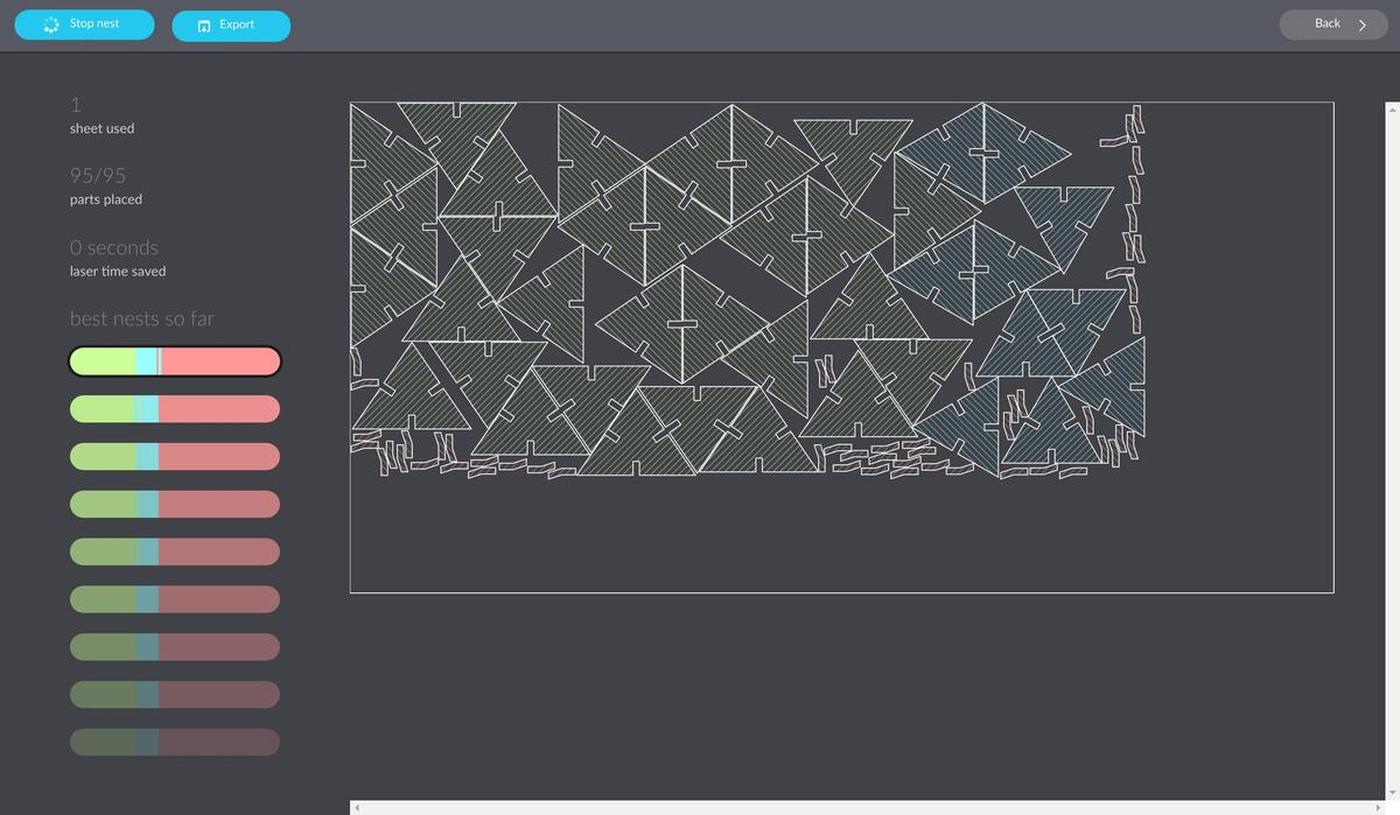
In order to avoid wasting material and time (and therefore energy), I had to nest all of my shapes (95 in total) together as compact as possible. To achieve this perilous mission, I used Deepnest, an open source nesting application.
This tool does only one job and it does it very well.
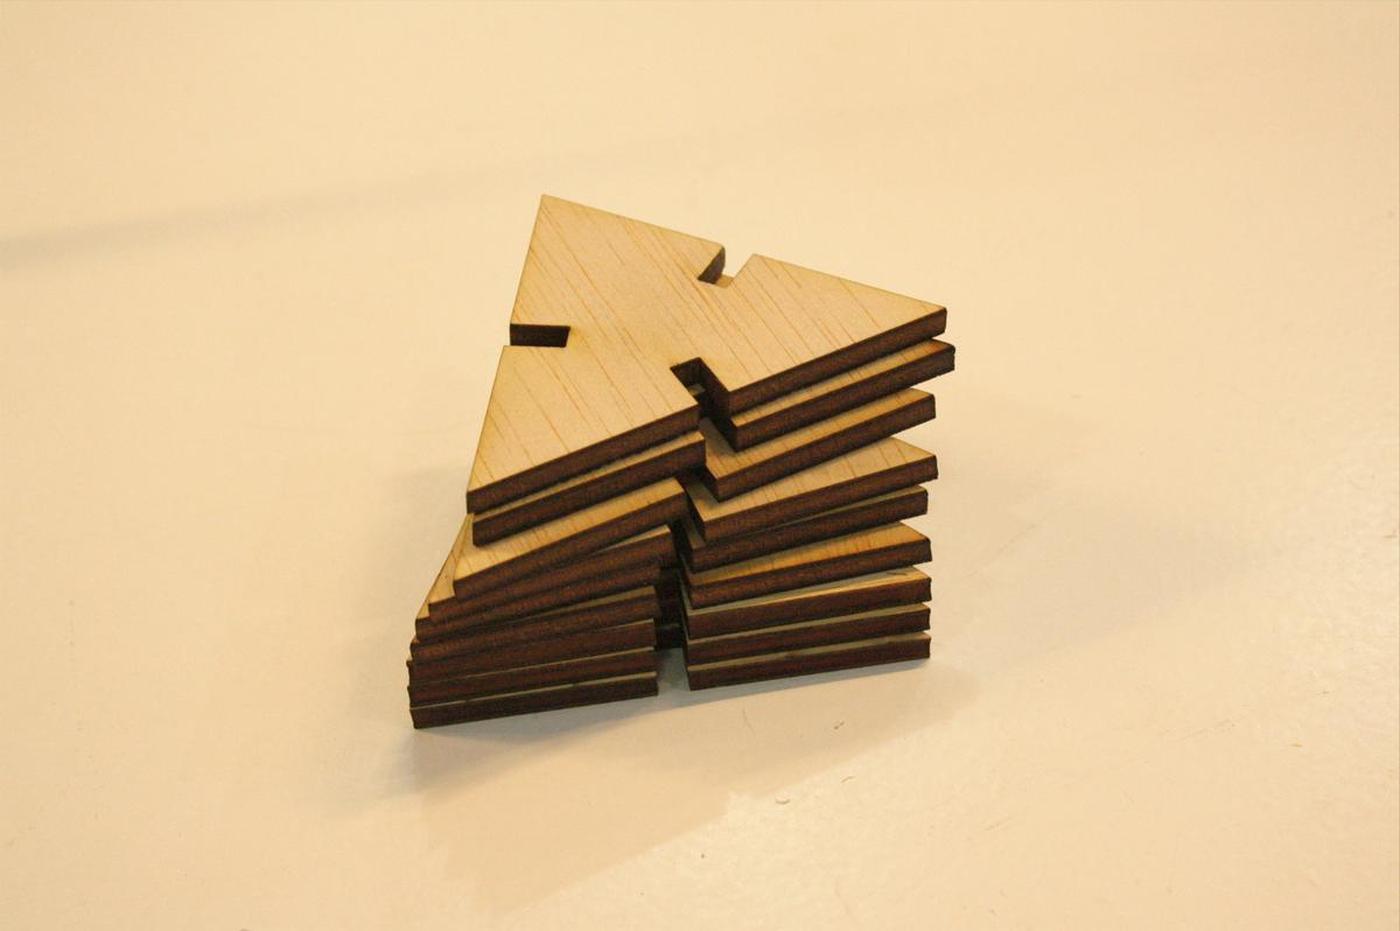
Cutting
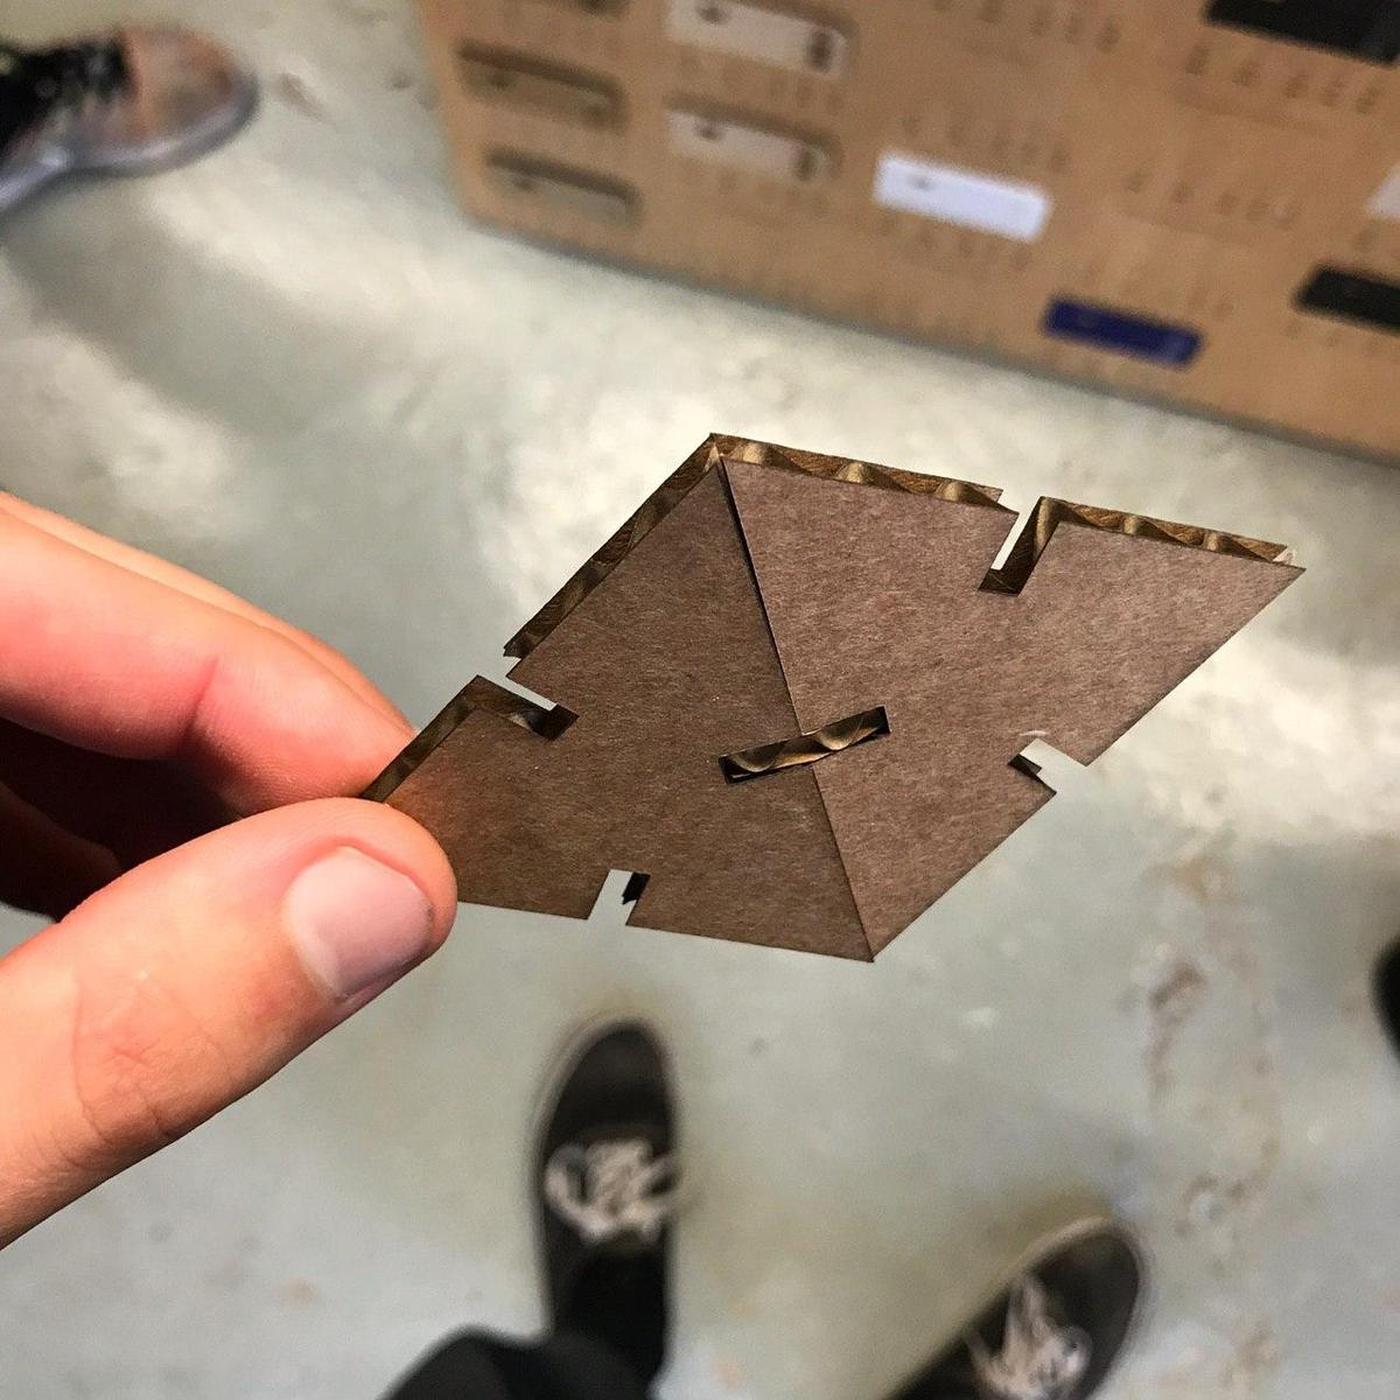
I first did a test on a cardboard to check if my design was well done and if the parts fit together, before cutting a more precious sheet of wood. It seemed to be the case.
I did another test of the same three pieces on the real sheet of plywood I wanted to use, ultimate test before cutting the whole sheet. It was sucessful, everything seemed to fit correctly.
In the lab, there are samples with cutting / engraving values on each material that could be used. I took the values from there. In my case:
Plywood 4mm Power: 75 Speed: 0.5

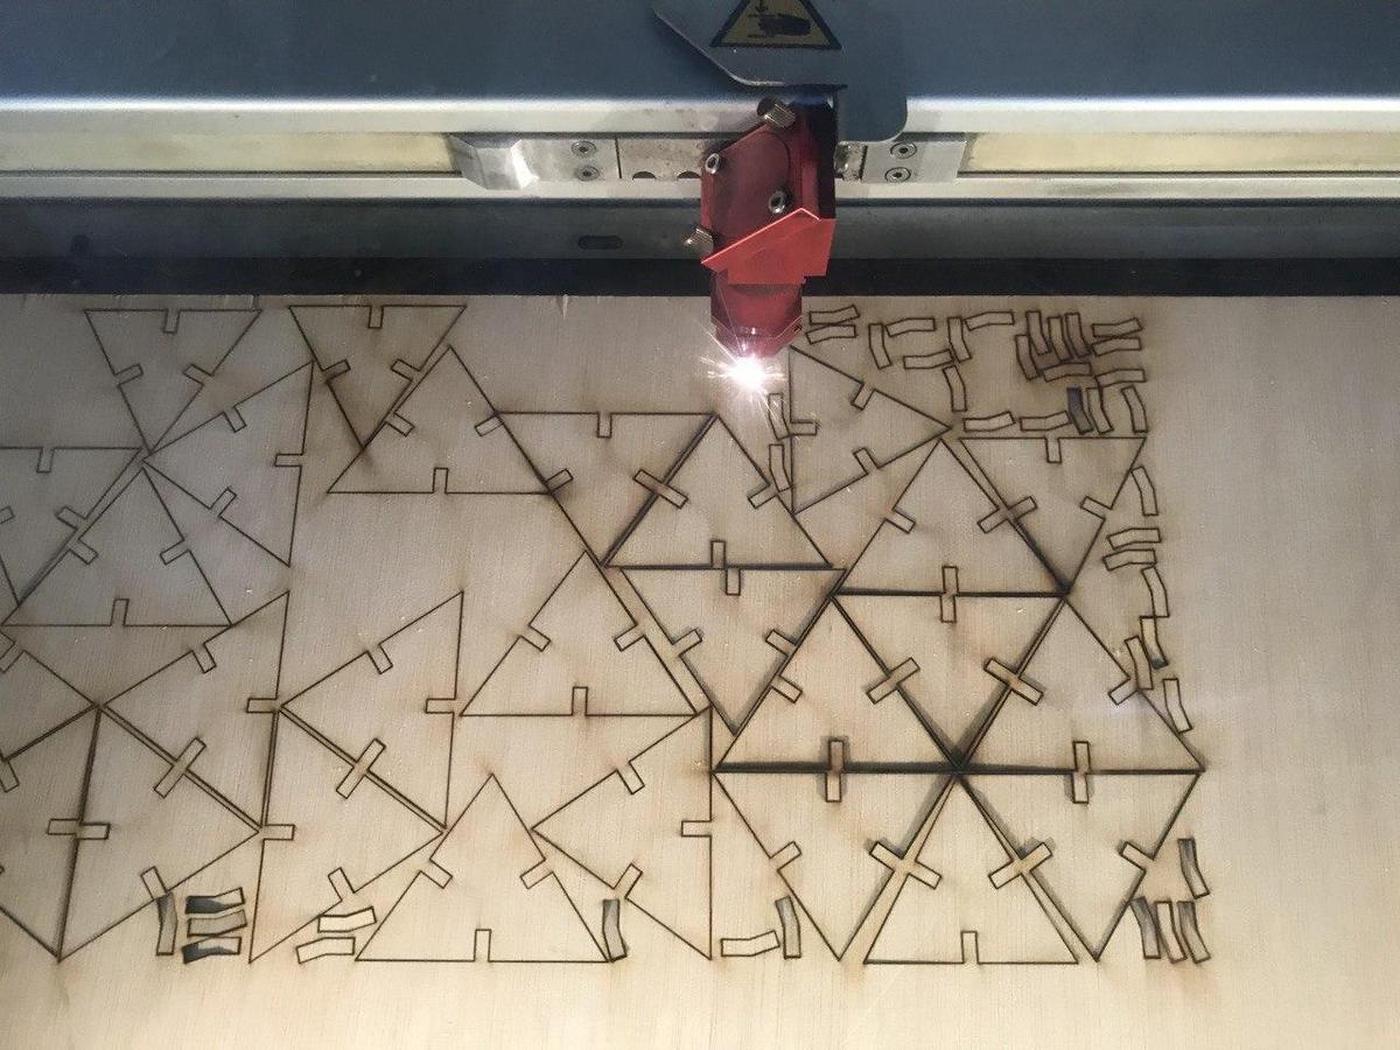
Let's (laser) cut it.
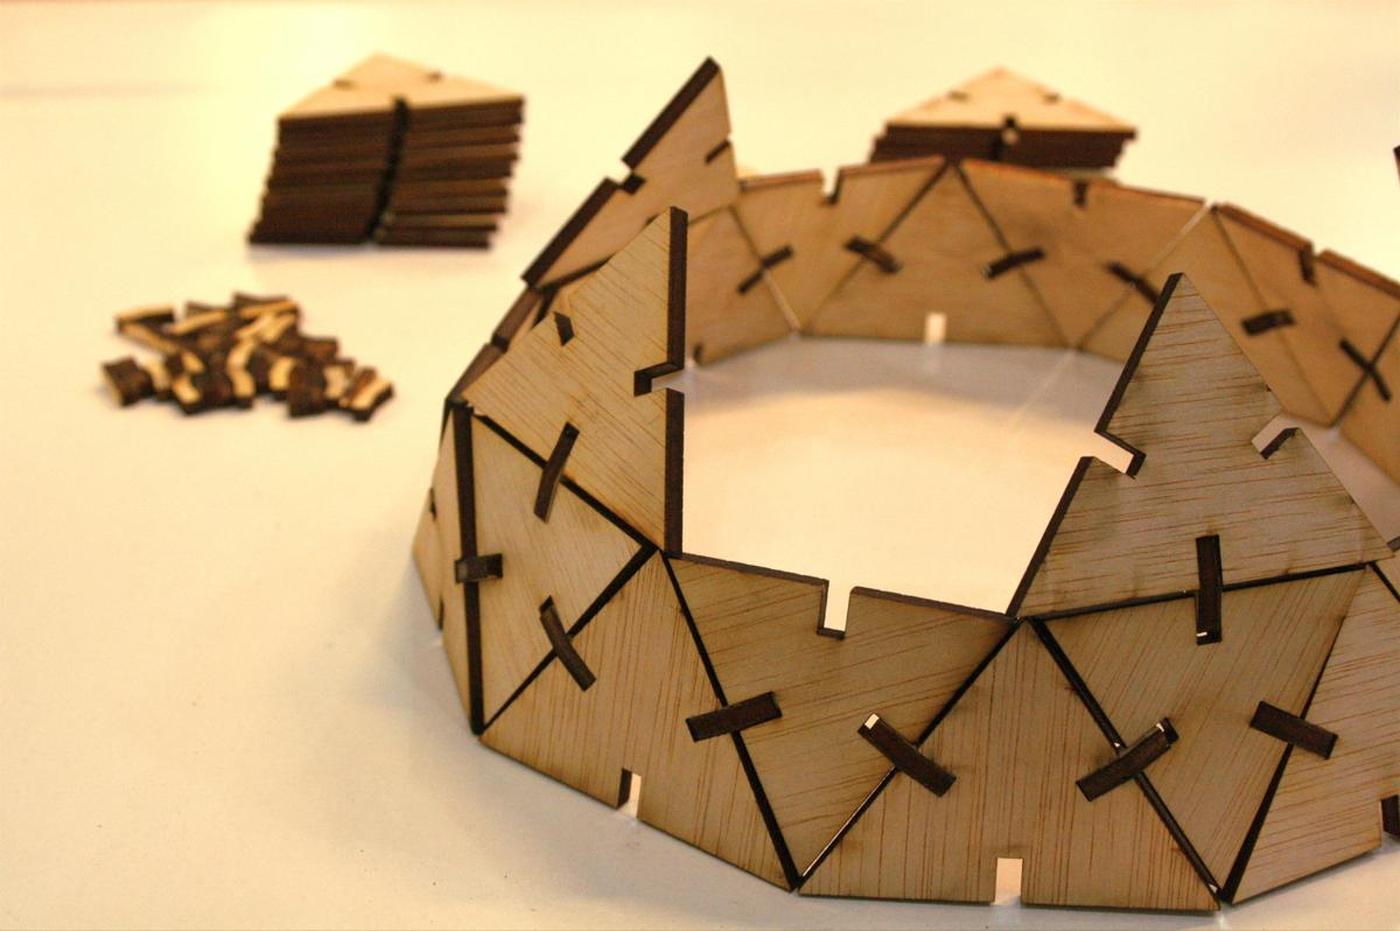
Assembly
Unforntunately, when assembling the dome, I realized that I messed up with the triangles sizes. I have defined the height of the triangle, from its base to its summit, instead of measuring one of its side … precipitation error. I was running out of time and the machines were hyper busy at the lab, so I decided to stop my test. I had enough information about the use of the lasercutters and I didn't want to waste more wood.
I ended with a weird half geodesic dome that isn't as solid as it should be but wich was super fun to build, from A to Z.